Tag: organization

Tools and workbench with words, "Monthly blog from the Ed's Workbench"

From the ED’s Workbench, New Blog Series

Reflections on the Last 6 Months.   

As I reflect on the past six months, I find myself exhaling deeply, as if I’ve just completed a marathon and am finally catching my breath. It’s been quite a journey. 

stop sign, expect delays marathon on progress sign
From a marathon, I ran in 2014, my friend and I were almost last. A guy in a bee costume was behind us but only because he stopped to hand out flyers.

The path we’ve traveled has been filled with grief, triage, fear, frustration, overwhelm, uncertainty, scarcity, and the unknown. We’ve encountered situations where we had to accept that some things will remain mysteries, faced layoffs, tightened our belts, and bonded through shared experiences. There has been collaborative and deep work, pivots, tough conversations—many tough conversations—and, of course, meetings, meetings, and more meetings.

Yet, along the way, we’ve also found moments of laughter, excitement, and genuine reward. Just yesterday, I was working through yet another technical glitch with our dedicated board member and IT Steward, drp. Despite the frustration, we found ourselves joking that every task seemed to come with more challenges than we anticipated. It is nice to be at the point where we can laugh about the small things. We have come a long way in a short time.

I’m incredibly proud of our staff and board for coming together to support this community. I’m deeply grateful to everyone who has stepped up to help us. The strength of our community seems limitless, and it truly is the glue that holds Ace together.

picture of tools and calculators
Figuring out the budget was an eye opener

The biggest challenge, as many of you know, is our budget. This is the mountain we’re currently climbing.

So, what have we been up to in our efforts to turn the tide?

  • Welcoming and voting in a new board
  • Promoting staff into roles that better support their work and creating detailed job descriptions
  • Retaining our valuable staff with adequate employment packages
  • Creating new educational opportunities and expanding class offerings
  • Designing a sustainable membership model and crafting retention plans
  • Sorting out our software issues
  • Designing a sustainable volunteer program
  • Engaging members to help craft the future with us
  • NDA revamp so volunteers can help us with administrative needs
  • Creating email accounts and Slack channels focused on specific aspects of our work and community, ensuring that messaging doesn’t get lost
  • Tackling our budget concerns
  • Finalizing a budget for 2024!
  • Planning a Gala event and Silent Auction
  • Organizing ACE’s first public fundraiser
  • Writing grants—lots of them!
  • Holding a Town Hall
  • Creating a pitch deck and plan to attract corporate donors & sponsors
  • Building relationships 
  • Fixing website issues (though there’s still more work to be done!)
  • Identifying and revamping systems and procedures that weren’t working
  • Amping up our outreach efforts
  • Holding monthly community get-togethers and open board meetings
  • Hiring instructors for CNC and Laser
  • Organizing our files and creating collaborative ways to work together

I’ll be honest with you, this has been a mental and emotional rollercoaster for the Ace team. Some of us are feeling a bit burned out and are taking a moment to rest, while others have picked up the baton and are running onward.

While we’ve been deeply focused on this work, we haven’t had the bandwidth to keep in regular touch. 

Pink critter, blue backgroundI apologize for that. We’re making communication a priority moving forward.  

We are a small but mighty staff with the heart of a powerhouse, even so, we are understaffed. Finding volunteers to help us with our communications will be helpful, but first, we need to get that NDA sorted out!

We’ll keep pushing forward—ACE is on the move! 

Be part of our journey forward, volunteer ([email protected]), be engaged, donate, stop by and have lunch with us, and tell folks about Ace.

Onward!

picture of a woman with a tiny dog
My friend Nano and Me

Juliana

Your Interim ED
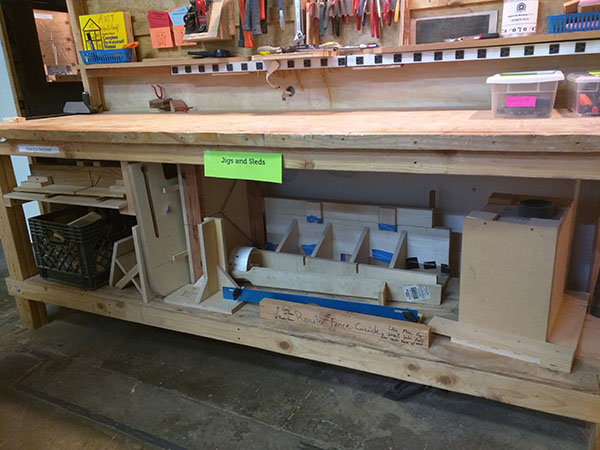
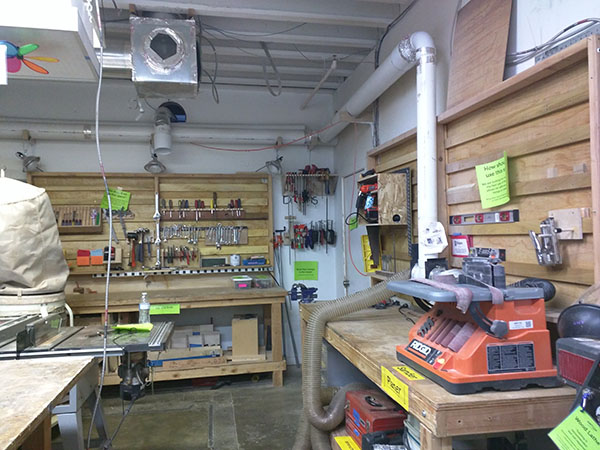
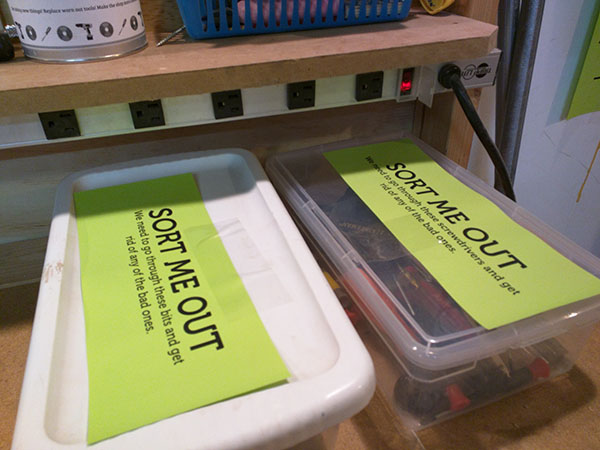
Workshop Organization: The Story in Pictures

So we bit of organization in the workshop and put some things in storage. Everyone who showed up really did a great job. We still have some tweaks and more labeling to do… oh, and we want to make a nice map of the room.

reachable tools!
All the sleds, push sticks, and jig you could ask for.
Birds eye view.
The culling is coming.. oh, yes it is.
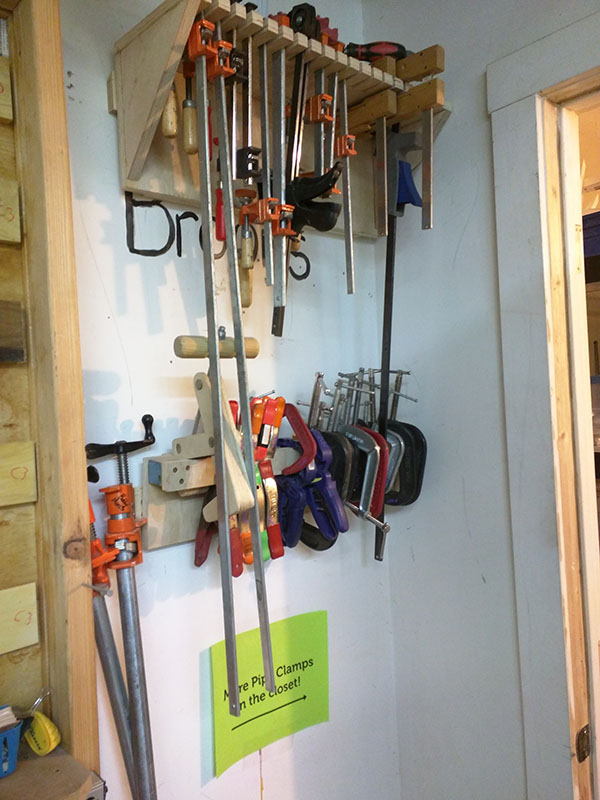
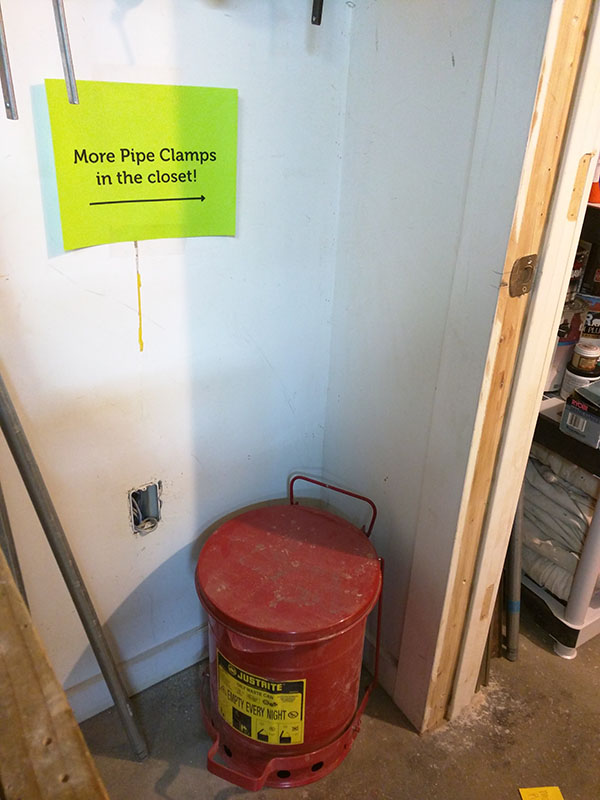
CLAMPS!
There really are more pipe camps… big ones in the closet.
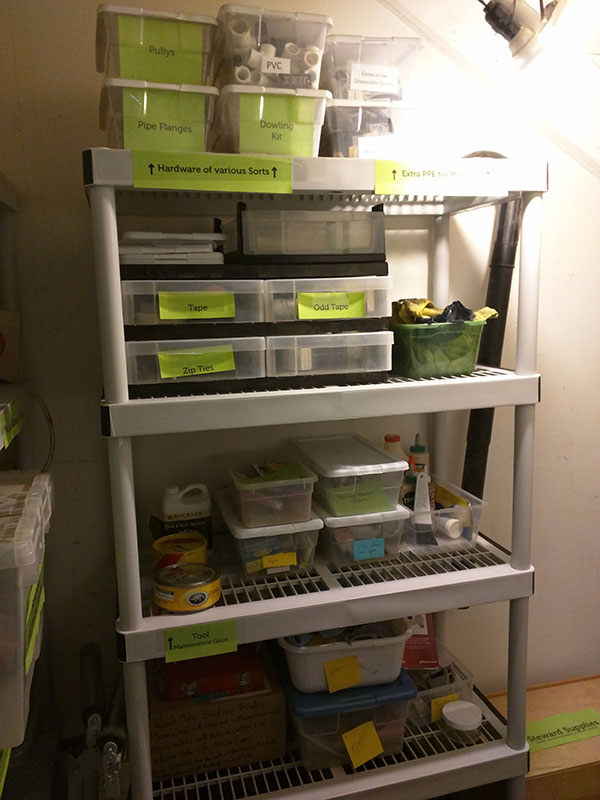
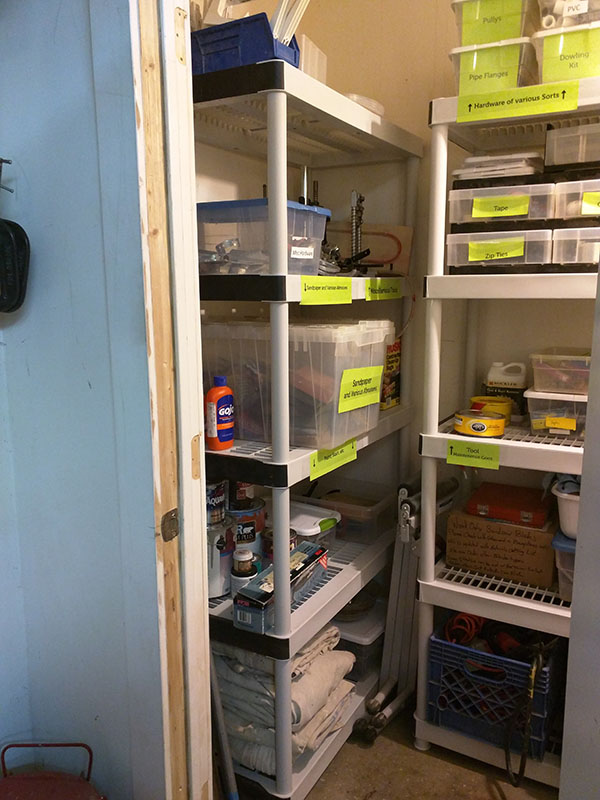
Supply closets supplin’
All the things
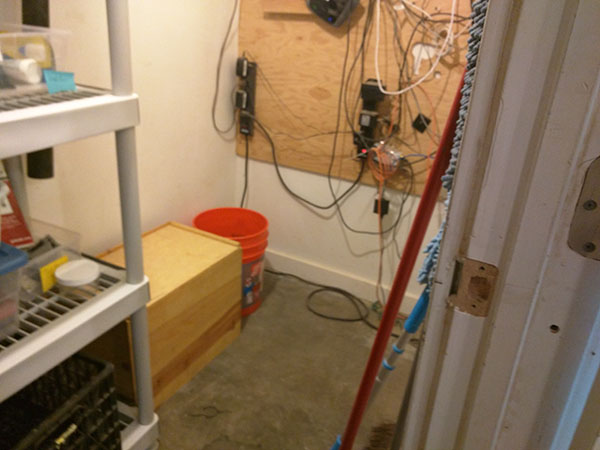
Electronics sans dust… please keep stuff off the floor in hear.
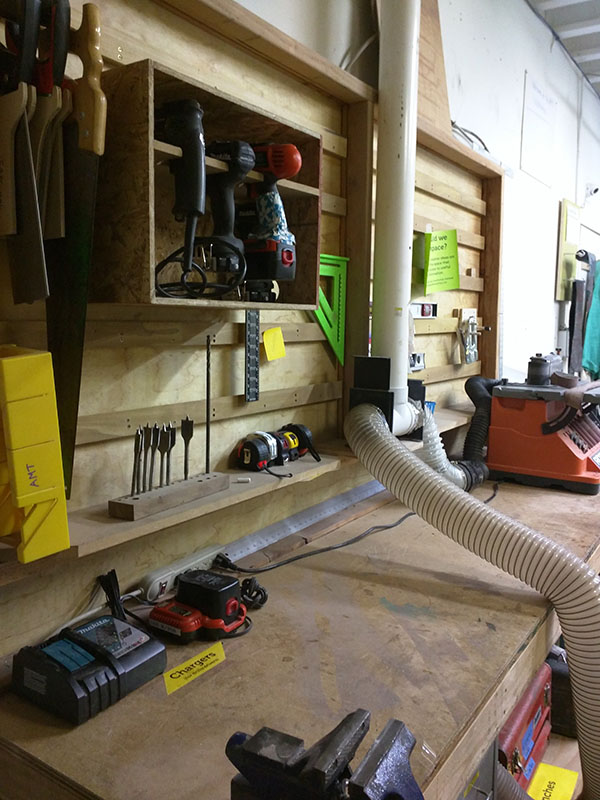
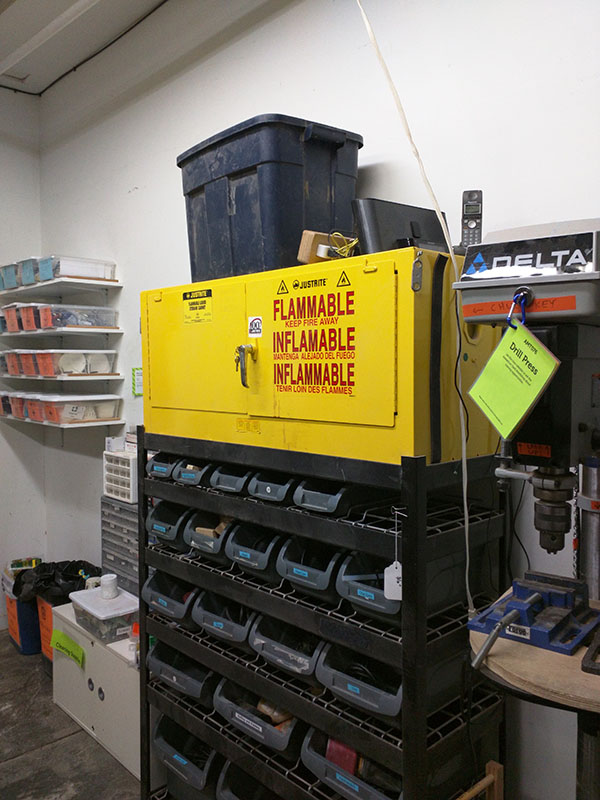
The yellow zone
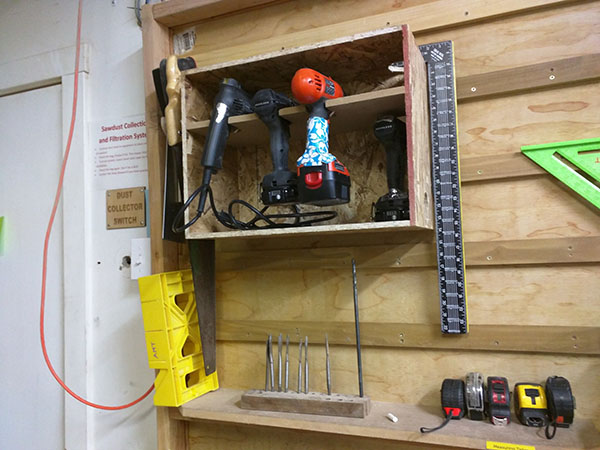
Drills, driver and miter boxes.
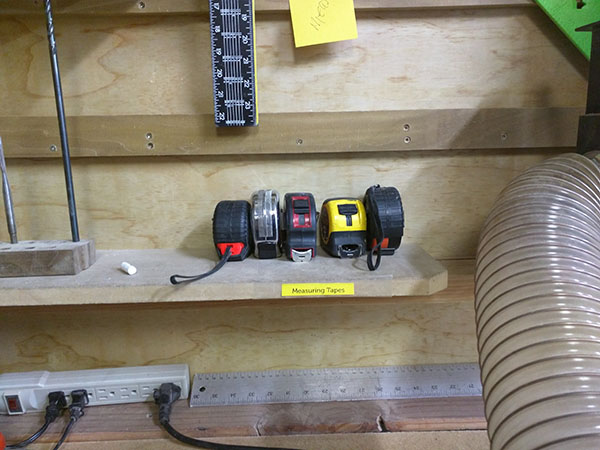
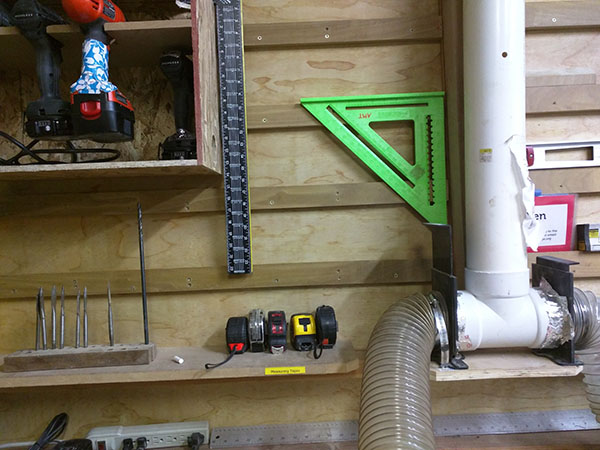
Measuring Tools
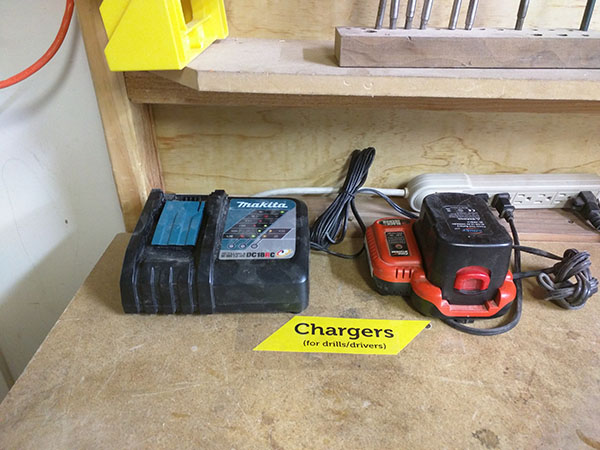
MOAR Power!!
It’s all numbers
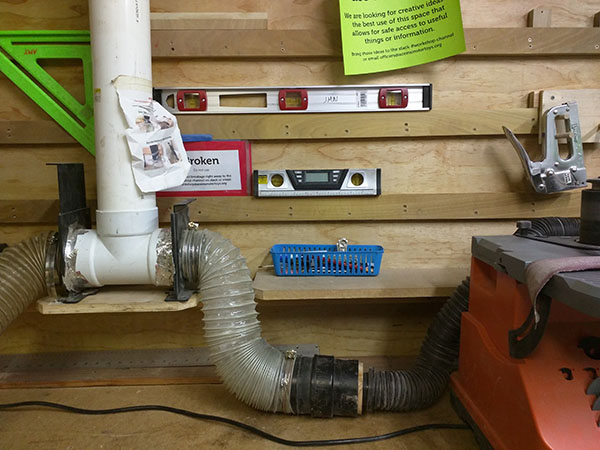
More measuring
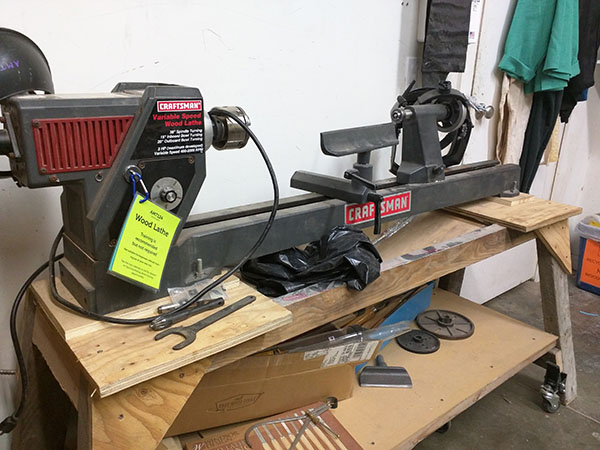
Next up… build a tool caddy for the lathe stand
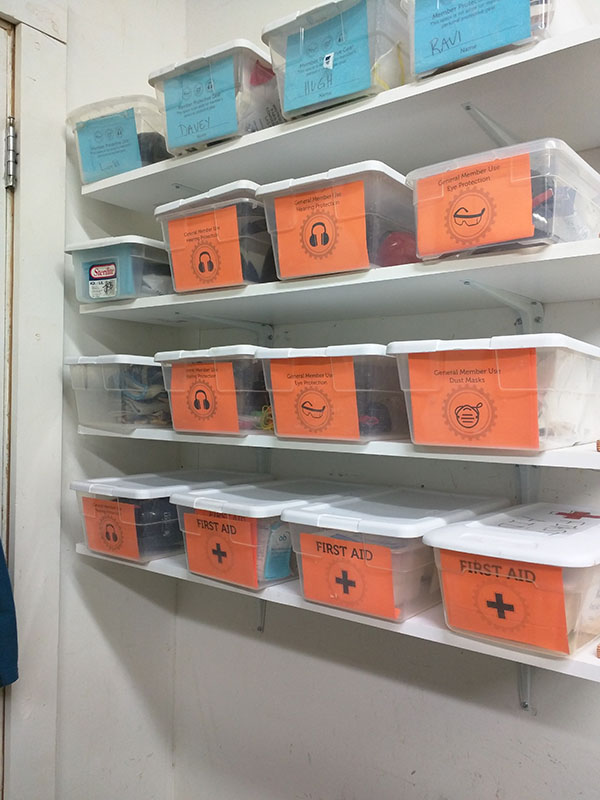
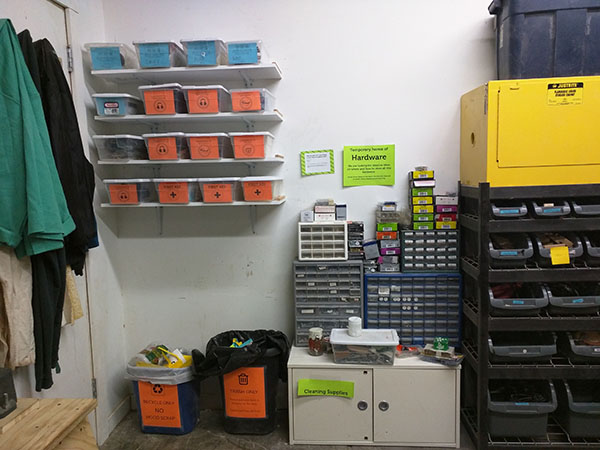
The new home of First Aide and Protective gear
Temporary hardware
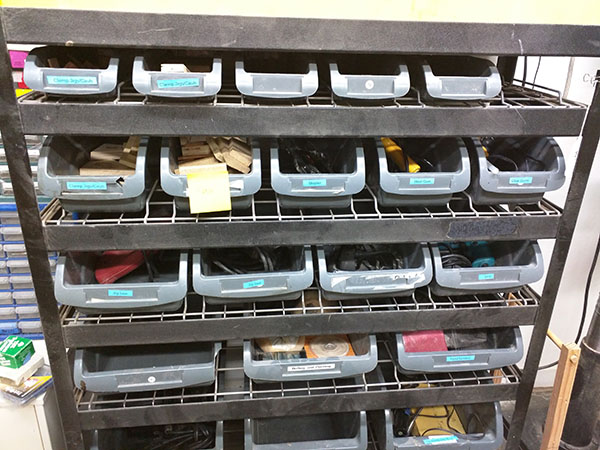
Power Tool Bins
Power tool bins with labels
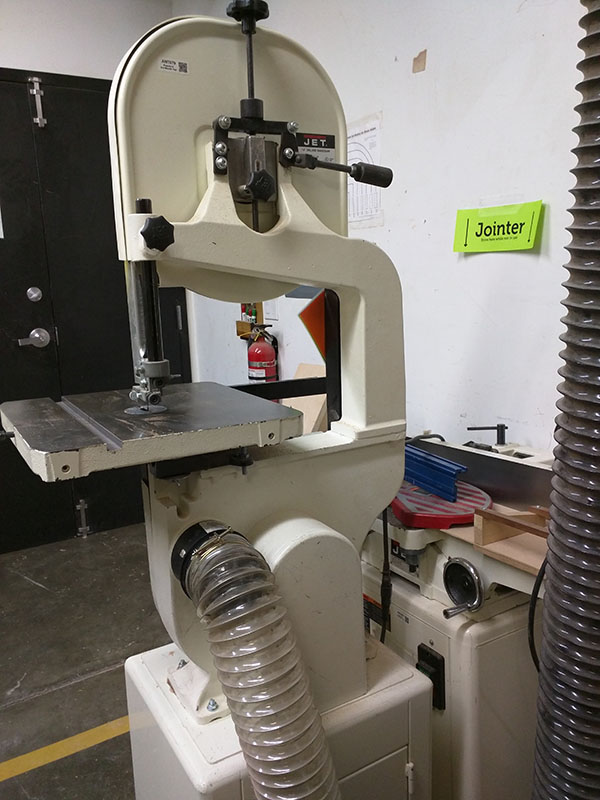
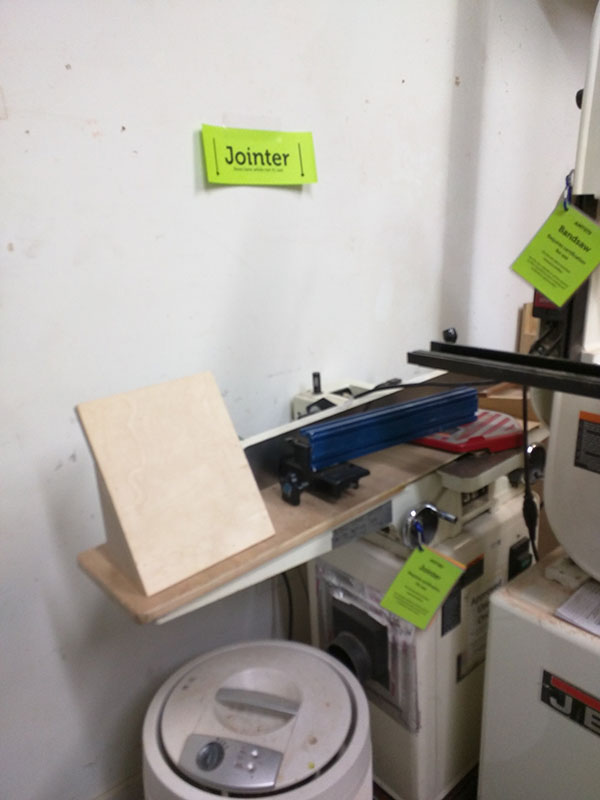
Bandsaw and Jointer stored all cozy like
The jointer in its relaxed position
Space available in project storage.
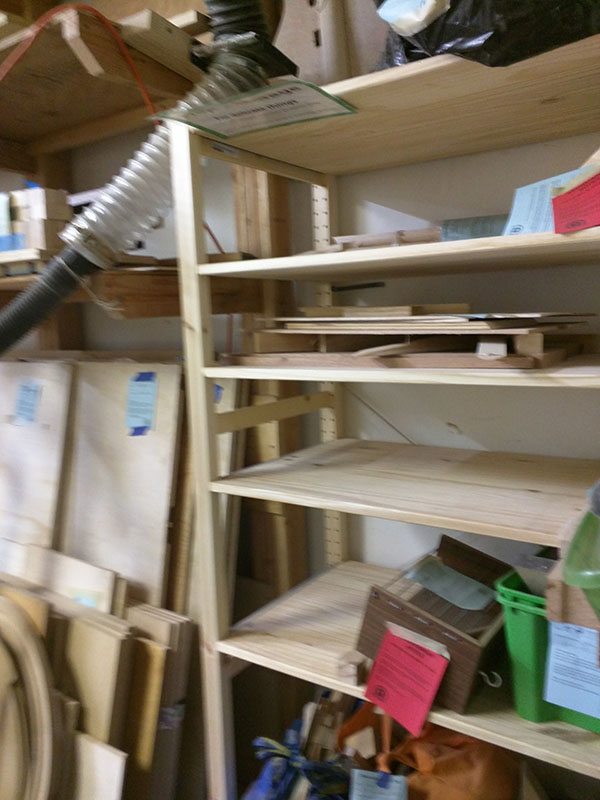
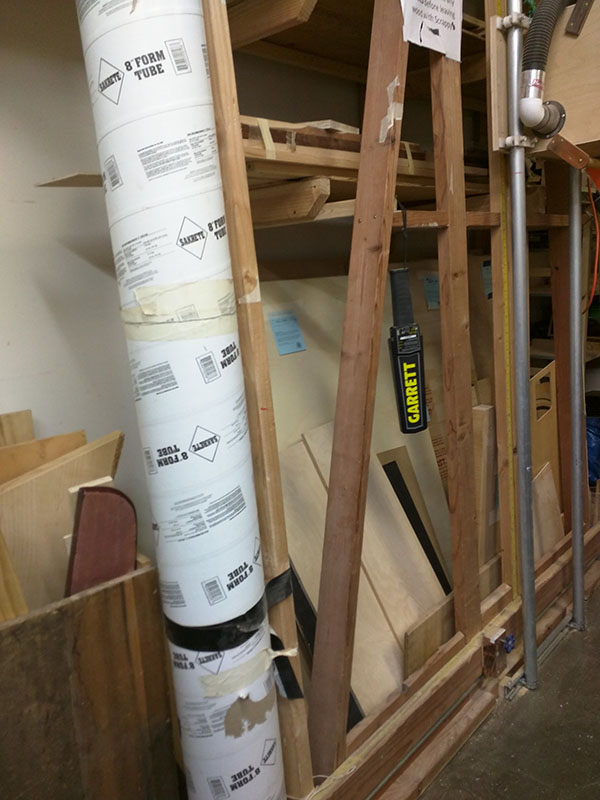
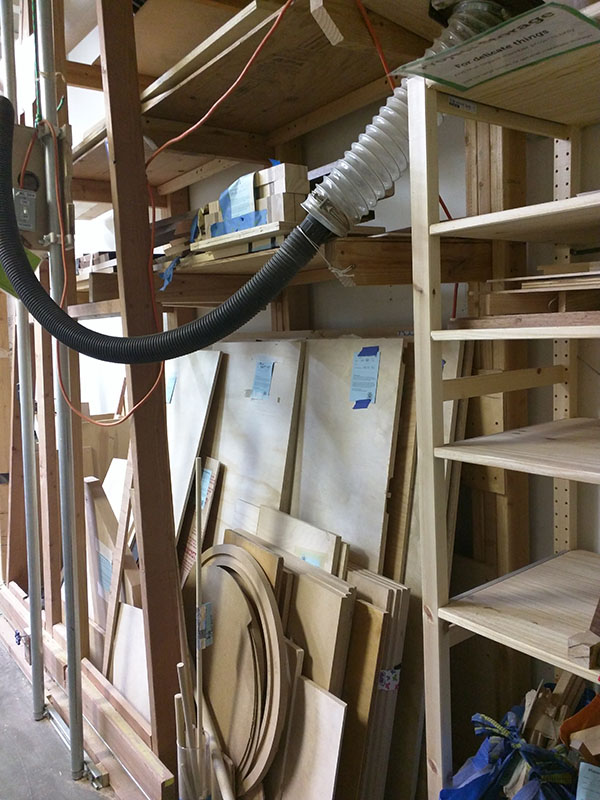
Sheet goods with a little bit of effort
Scrappy keeps on scrappin’
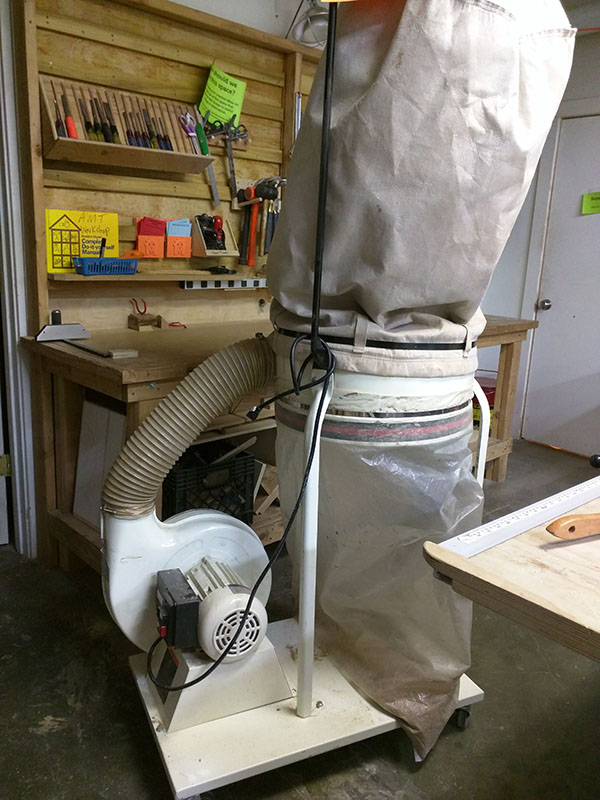
The finest in mobile dust collection thanks to Pierre
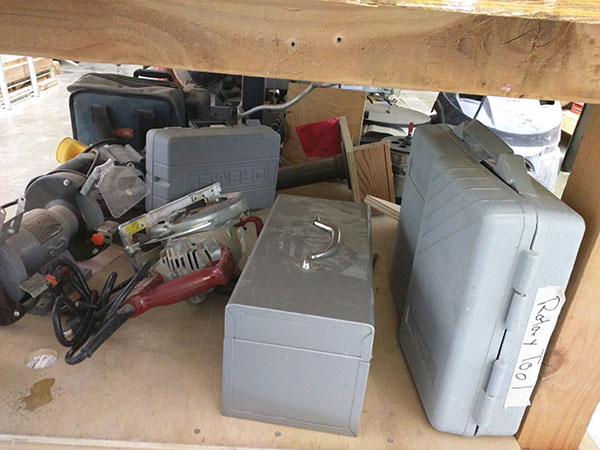
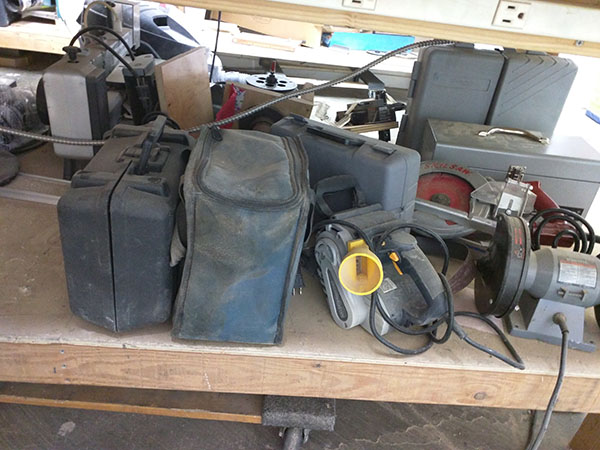
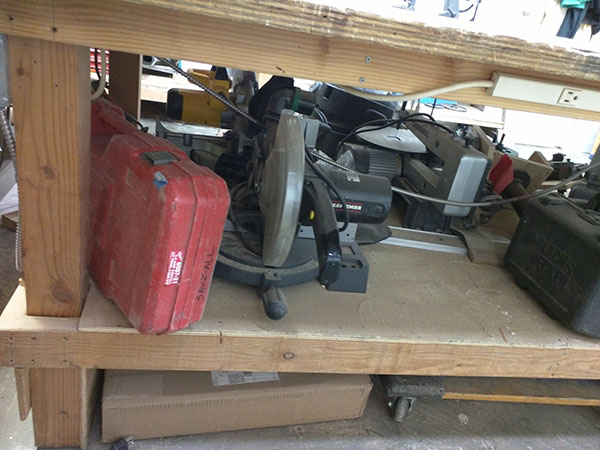
All the under work bench tools
Under work bench tools
More under work bench tools


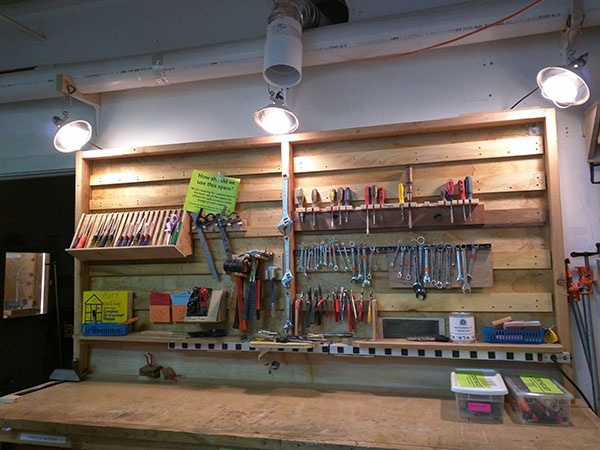
Tool Board

I wanted to hang my most-used tools on the wall just over my workbench/desk.

Pegboard might seem like the obvious choice, but I’ve never really liked it: The hole grid dictates positions that never seem quite right, and there’s always some tool that just doesn’t work with the standard pegboard hardware. Also, that hardware can be surprisingly expensive once you get everything you need (and the extra parts you think you’ll need but never use).

At the other end of the spectrum live craftsmen who create a custom holder for each tool, complete with six coats of varnish and an elaborate french-cleat mount system. I don’t live there. Not even in the same town.

Instead, I just wanted a simple plywood board to host any random screws, nails, cup hooks, or screw eyes that do the job. Whenever the mood strikes me, I want to be able to just hang something up, without having to go find some weird hardware or make a custom fixture. I don’t want to think about it; I just want it done.

Plywood board used to make tool board
Plywood used to construct tool board

Today, in the intro to woodshop class, I spotted a 2’x4’x3/8″ plywood sheet just perfect for the job. No blue tag, so it became mine. This was my first woodworking project at AMT. I finished it in about 45 minutes this afternoon.

I  wanted to stiffen it and separate it from the wall in case I drive one of those cup hooks a bit too deep. I bought two 1×2 strips at the home center and made a simple frame. It’s glued and screwed to the tool board with wood glue and #8 wood screws. I have no photos of the exciting build process, since Hugh only suggested the contest after I had it done. (He gets the laptop if I win, btw. I really don’t need two.)

Strips of wood attached to plywood
Bracing added to back of board

The only power tools I used were the chop saw and two drills: One to drill pilot holes and the other to drive screws. Sure speeds things up. This is the kind of project that could be done at home, but it’s just so much nicer to work on a proper bench with enough clamps to hand, the extra drill, etc.

Back at my workshop/office, I discovered I no longer have a stud finder. Must’ve given that away in my
Tools hanging on boardmost recent purge of extraneous stuff. I borrowed a magnet from the fridge and hung it from a piece of string… which actually seemed to work better than the old stud finder. Two 3″ #8 screws hold my
board up. It seems very solid, but as I add things it might get heavy, so I’m thinking about adding a couple more. I drilled clearance holes in my board for the mounting screws, so the threads only bite into the wall studs. This way the screws can cinch the board up snug to the wall.

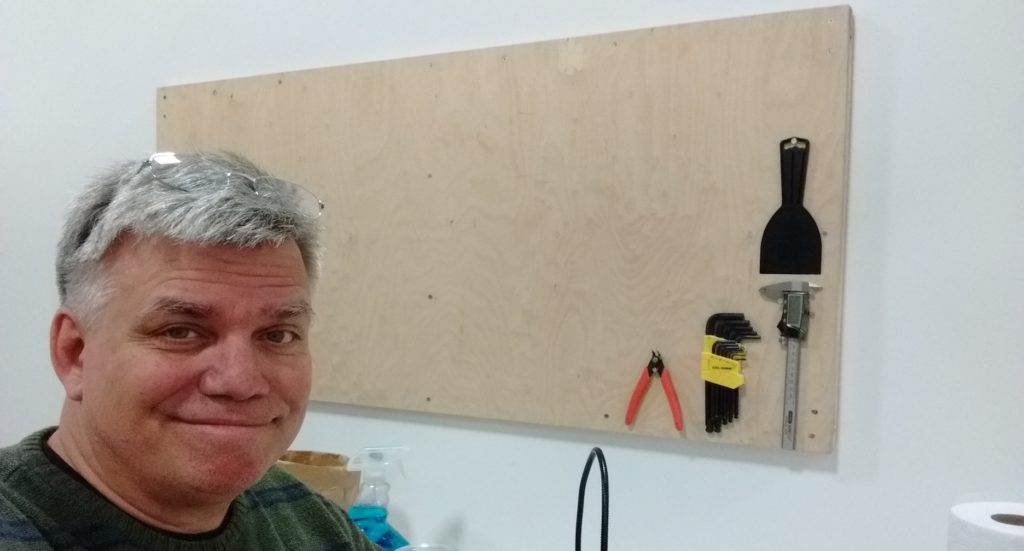
Man with tool board
Mat and his tool board

As you can see, I only have a few things hung so far, all with 3/4″ #6 wood screws. It took me about two minutes to do that much; I just drove the screws straight into the plywood without even bothering to drill pilot holes. The caliper is a good example of a tool that would not be convenient to hang on a pegboard, yet two screws do the job nicely on my tool board.

I still have a big mess to clean up, but I already like my tool board better than any I’ve used before. It feels nice to undercomplicate something for a change.