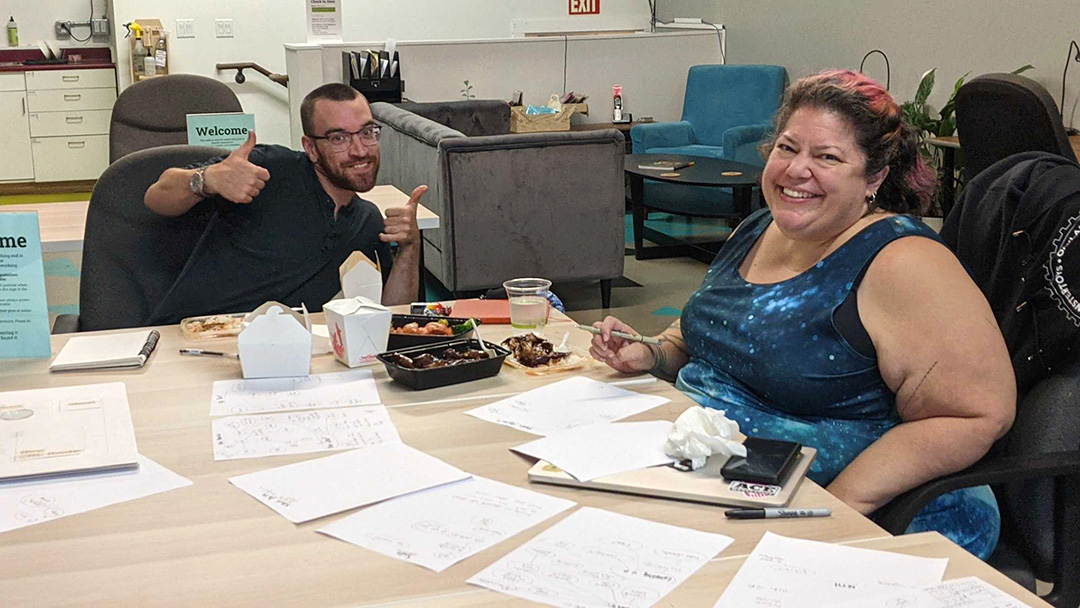
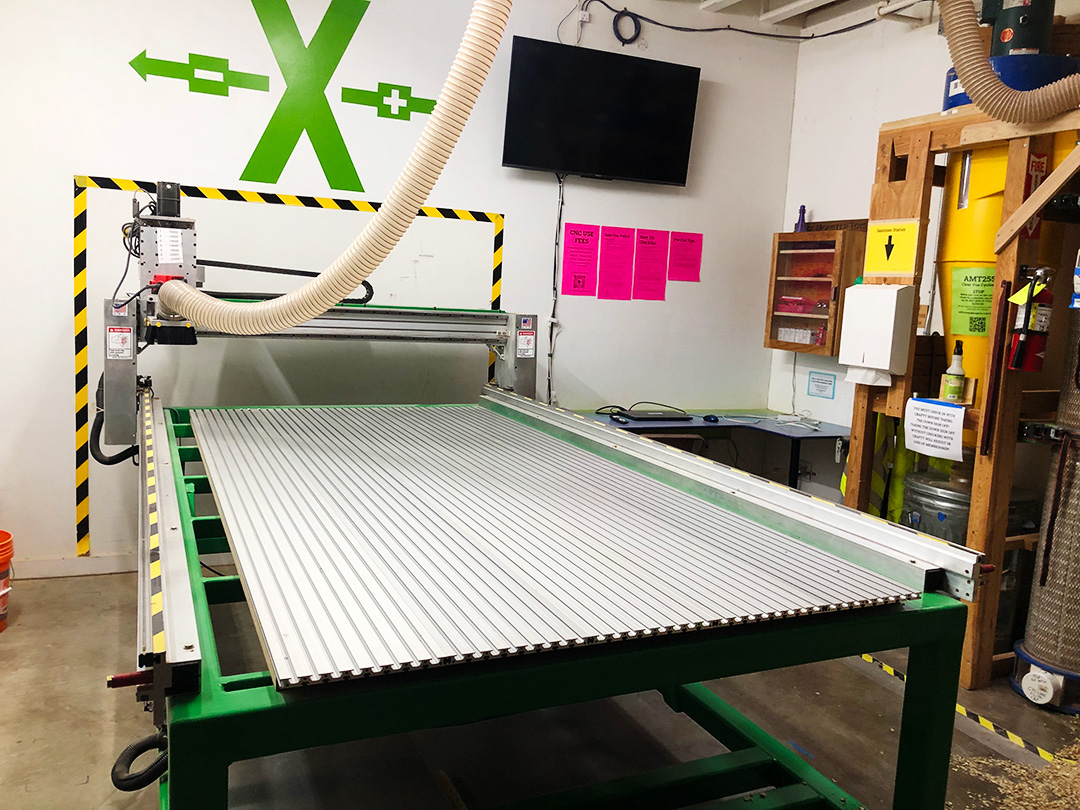
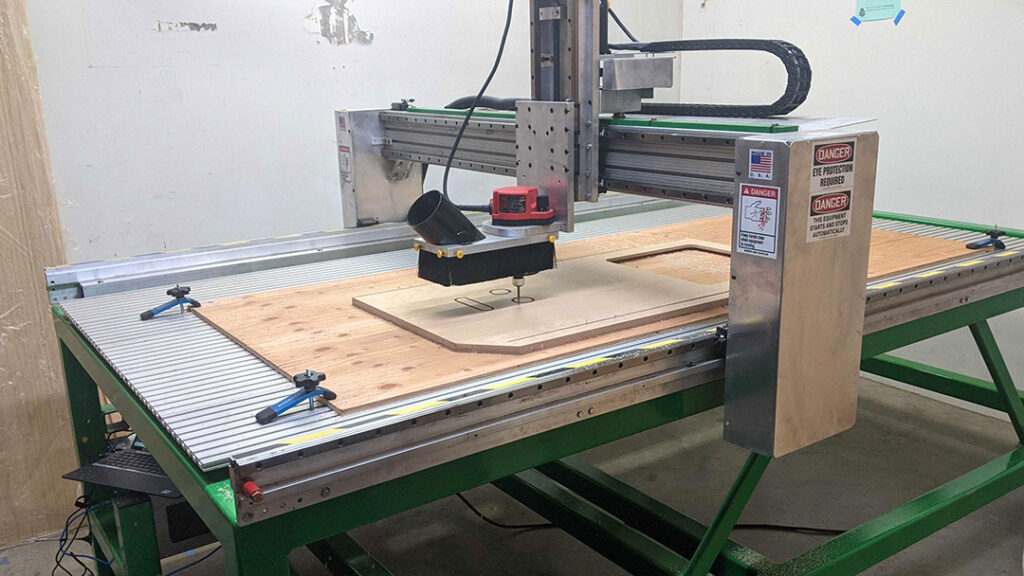
We love building kick-ass programs at Ace Makerspace, and this past year we had a special opportunity to apply our innovative, collaborative approach to program development to a much-needed community resource—our new Full Bed CNC Router. Like many small businesses, we took out an SBA Loan to survive the pandemic but also wanted to put some of the money towards mission-driven growth that would benefit the broader Oakland/East Bay community around us.
Did you know the Ace CNC router was the only public access router in the east bay not on a college campus? The community needs a more robust resource for people to use, run their small businesses, and gain job skills. It needs to be accessible for beginners and easier to maintain.
–Rachel Sadd, ED
We’d been thinking about investing in a new Full Bed CNC Router for our program since 2019, and after a few false starts over the years, we finally gained enough traction to bring our dream to life. Providing an approachable point of entry for folks of all skill levels to learn modern fabrication skills in the East Bay drove our subsequent program development process.
The new program we imagined would be:
- Beginner-friendly
- Affordable
- Self-guided
- Highly accessible
And would serve:
- Folks interested in learning job skills
- Small businesses
- Folks making repairs
- Hobbyists
- Current and graduated students looking to continue their education and practice their skills
The Early Adopters
In order to build our dream CNC Program we put out a call for volunteers to join the Program Development team as Early Adopters.
We are seeking women, non-binary and BIPOC folks to join the CNC Early Adopter team. Ace firmly believes that a variety of lived experiences are needed to grow truly inclusive programs. And we are at a magic moment with the CNC Router Program as we re-design the program for the new router. You do NOT need to be an expert CNC Router Operator. The perspective of new users is also very valuable to program development.”
–Early Adopter Recruitment Post
For a truly accessible program we needed a group with diverse perspectives, skill levels, and lived experiences. We ended up recruiting:
- Sylvia- A novice CNC operator with a technical background, who played an instrumental role in curriculum and knowledge check development
- Bob- Someone with extensive CNC experience at Ace both as a user and an instructor
- Frank- An advanced tool user with no previous CNC experience and an old school approach to documentation
- Dave- Someone with CNC experience in both Ace and outside contexts
- Sharps- A former tool manager for a shared shop with extensive CNC experience outside of Ace
- Liz- Ops manager in charge of the executing the environmental design for the physical space and limited CNC experience
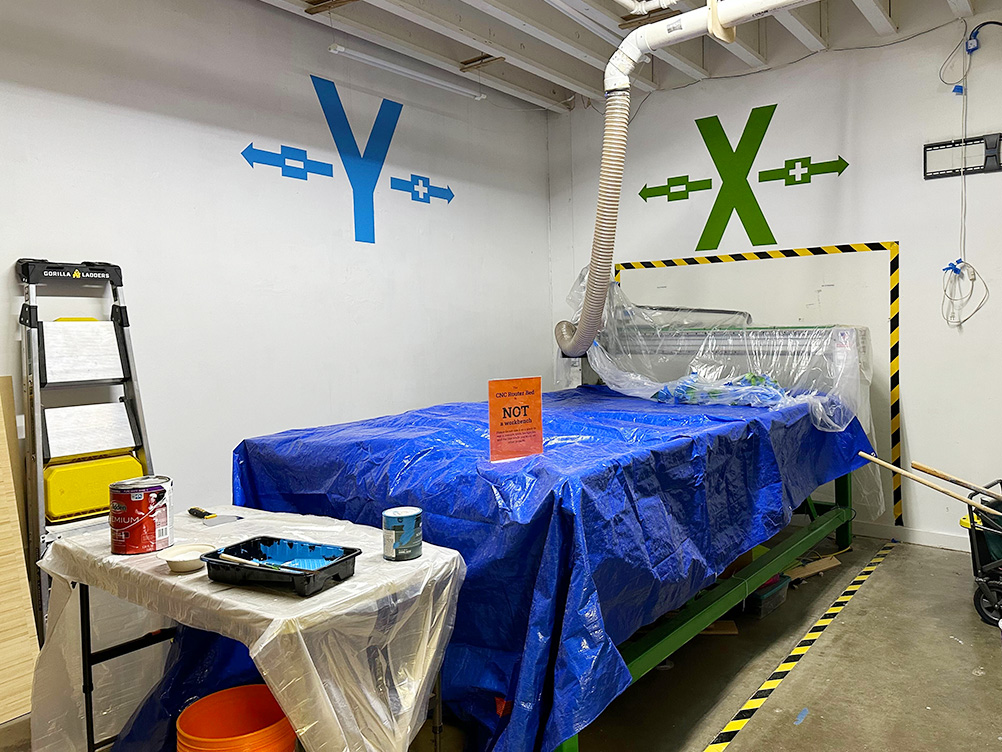
- Rob- A technical contractor who helped build out the space and design the X and Y axis murals
- Rachel- Executive director of Ace Makerspace
Building a Beginner Friendly Program
Building an approachable CNC program requires bridging the gap between the advanced user approach and a more equitable, beginner-friendly approach.
Sylvia, a novice CNC Operator with extensive technical writing experience, played a major role in developing the curriculum and writing the knowledge check. Ace Communications Associate, Jacky, sat down with Sylvia to learn a little bit about her perspective as a novice CNC operator on the team and what beginners can expect from the new program.
1. What prompted you to join the Early Adopters Team?
I joined because the call was for a BIPOC beginner and that was me.
2. What was your experience as a beginner CNC Operator working on curriculum development?
My first experience with CNC Routing was with the Forest Scientific trainer who came to Ace to work with the Early Adopters. That training session, which lacked visual aids and handouts, wasn’t helpful to me as a beginner, although it did seem to resonate with the more experienced users and did take a hands-on approach.
Writing the curriculum was a highly iterative process, and as a beginner I was still able to contribute at our first team meeting by simply asking questions. Rachel provided background on Ace culture with respect to collaborative class development. Sharps wrote an initial draft outline covering CNC Router concepts. Bob contributed his expertise from years of teaching beginner CNC users. Frank [another New CNC Operator] documented the step-by-step process of operating the CNC router. During team revisions Frank and I identified things that were unclear to us as beginners. For example, the Router has 3 axes: X and Y and Z axis, and one of the training slide examples mentioned ‘2.5 axis.’ A beginner wouldn’t be able to decode that.
3. What is one (or more) thing you really thought about/kept in mind as you were contributing to the writing of the CNC knowledge check?
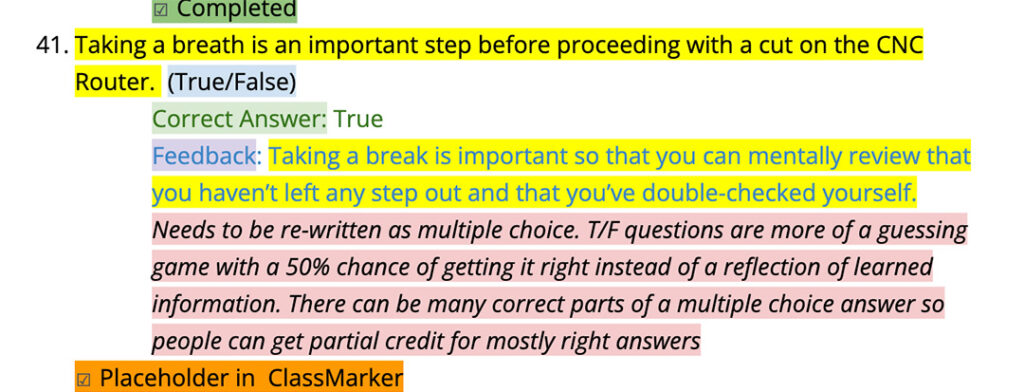
The more brains that attack this the better. I thought the team effort was key, which included leveraging the Laser Team’s tried and tested Laser Knowledge Check as a starting point. Sharps and I generated an initial draft of questions. Then there was a technical review by Bob and Sharps, an inclusivity review by Rachel, a re-write by Rob to transition questions from a true/false format to a multiple choice format, and a review by Jesse M who provided valuable feedback from a test taker perspective.
4. What did you learn through the process?
How important it is to address different kinds of learning styles. Some folks are visual, some folks like a checklist, and some folks need things said aloud, while other folks need to touch the machine for the info to take hold.
5. What can beginners expect from the new program?
“An evolving process that they can contribute to in order to make it even better!”
Pilot Classes Begin
Ace is looking for 4 beginners for the next CNC Pilot Class! It will likely be mid-month and definitely on a weekend. Reply to this thread if you are interested. Update: Please if you have previous CNC experience do not put yourself on the list.
-Pilot Class Announcement
Finally, after installing the New Router, learning how to use the new machine and experimenting with it, designing the curriculum, handouts, knowledge check, and other user documentation on the Ace Wiki, installing a new desk, painting X and Y Axis murals for easy reference, and designing a beginner friendly “data pack”, it was time to pilot the new CNC Basics and Certification class starting with….beginners!
What’s next for the CNC Router Program?
Our program is evolving and we plan to continue iterating our collaborative approach to design as we fine tune our existing CNC Router offerings, grow our program, and develop more great beginner-friendly learning opportunities for our East Bay community.
Here’s a taste of what to look forward to as we continue developing new learning opportunities for CNC Routing at Ace:
- Software Design Classes for CNC Routing
- V-Carve Design for CNC Routing (less powerful, but less complicated)
- Fusion 360º Design for CNC Routing (more powerful, but more complicated)
- CNC Router Advanced Operation and Certification Workshop focused on 3D Routing and handling specialty materials (like plastic) safely
- Open Labs with focused topics like “planing contours” and “cutting plastics”
- Practice Projects like dice trays, bee-houses, and clocks
In order to create robust and equitable resources, we invite folks interested in being a part of this exciting process to bring their unique perspectives, skills, and talents to the table. We also plan to continue working side by side with our community as we evolve other current and future programs.
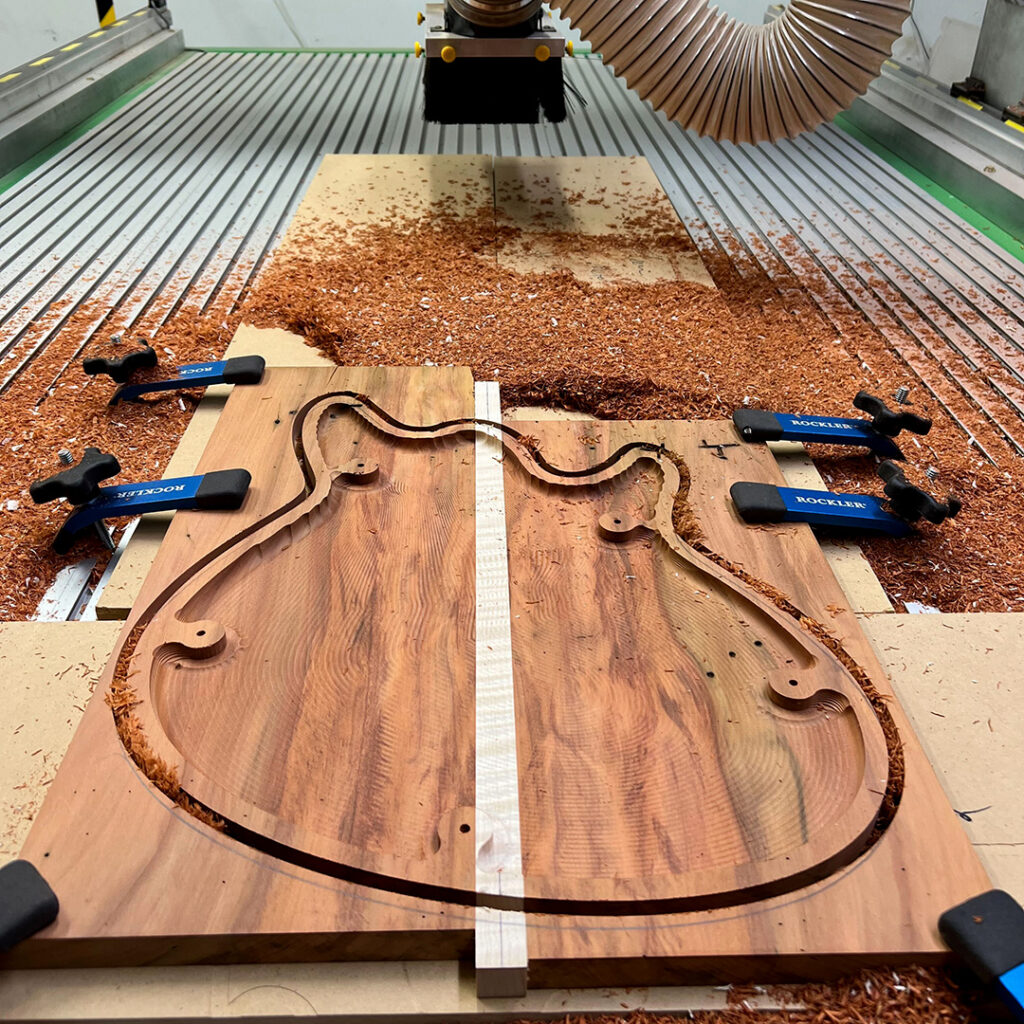

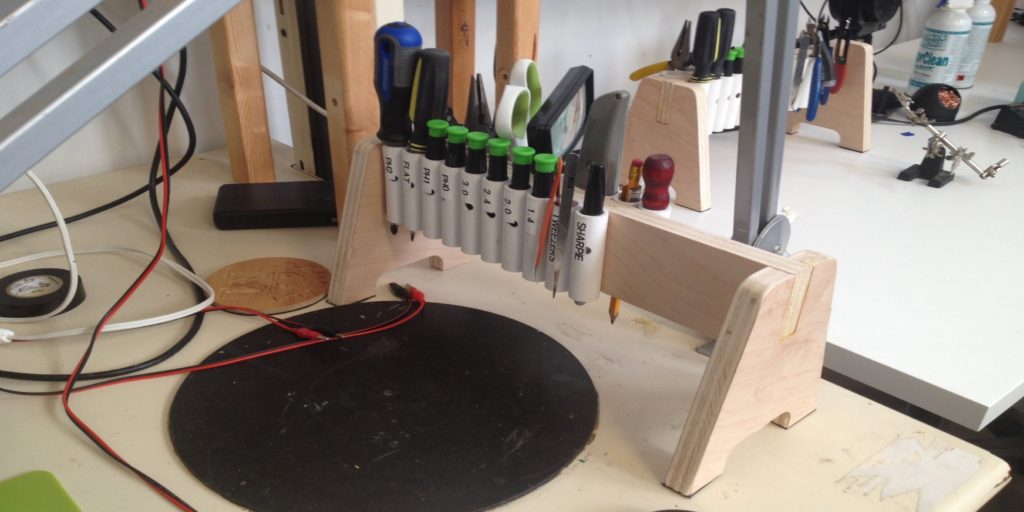
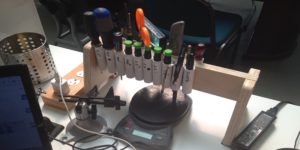 you put a collection of PVC tubing to hold whatever you want to hold. The trick is to have an idea of the tools you want to have on it and lay those out before hand, so you know what kind of tubing and how much you need. Some #6 screws, a drill press, bandsaw and CNC up the wood bits and away you go. Rubber feet on the bottom make sure it doesn’t slide away from you as you reach for that next screwdriver. The tools selected for the rack are based on my own experience in doing electronics and detail work. Precision screwdrivers are a must but so is a regular #2 Phillips and flathead. The #2 and #1 Phillips are probably used more than anything. From there it all makes sense to have enough tools but not too many. You can go crazy on the tool rack but it starts to get too large and would take over the tabletop if you let it. Keep it basic and know what you use.
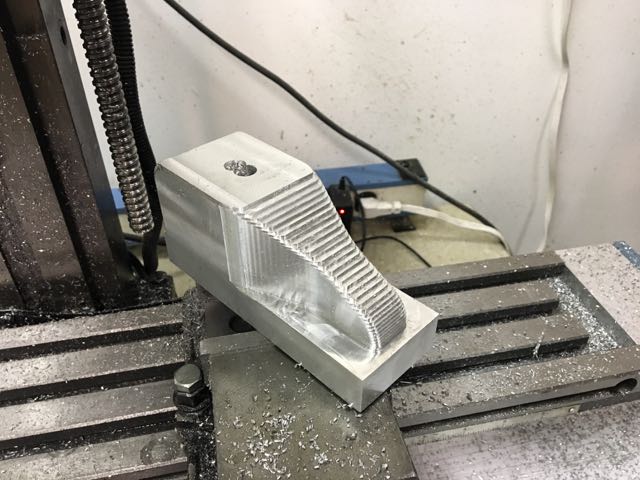
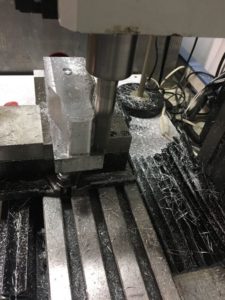
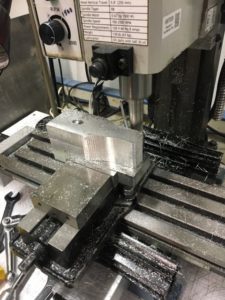 Remember that 0.1″ of material I left in the setup of the adaptive clearing pass? Well now it’s time to take that off. I look at my options in the 3D milling CAM operations and see that “Contour” is a finishing strategy that is good for steep sided things like my shape, so I give that a try.

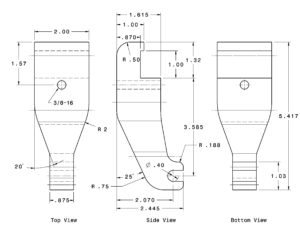 It looks like kind of a complicated part to make, and the material would be expensive, so I decided to try a 3D printed prototype to make sure it will fit. First I created a model in Fusion 360 based on the measurements in the drawing. I haven’t tried this before, but I think you can view the model at
 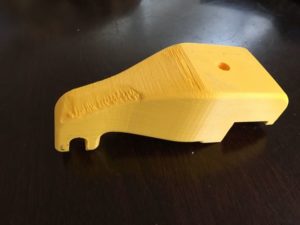 I then took this plastic version of the bracket up to the lathe to try it on for size. Good thing I did because it didn’t fit. The arm of the bracket was too long for my lathe and I would have wasted a big chunk of aluminum of I had just dived right in. Perhaps Monarch made multiple versions of the lathe over the years and the plan I found was for a different one? Anyway, I corrected the model, printed out another version and this time it fit perfectly. It’s time to commit to metal!