Materials Needed:
- Styrofoam egg
- Approx 550 thumbtacks
- Cardboard to hold thumbtacks
- Choice of nail polish or spraypaint
- Clear coat
- Glue


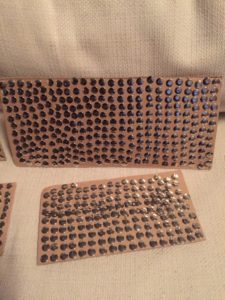
The most tedious part of this project is sticking approx.. 550 thumbtacks onto a piece of cardboard. This step, however, makes the painting of the thumbtacks much easier, especially if you plan to use spraypaint.
Painting the thumbtacks
Paint each thumbtack – two coats may be needed if you want to eliminate any marks on the top side of the thumbtack. A much quicker method is to use spraypaint. You will want to use spray paint that is suitable for automobiles. If you want some of the shininess of the thumbtacks to come through the paint, you can start by spraying a clear adhesion promotor first. This can be found at any car parts store, along with a wide selection of spray paint suitable for metal.
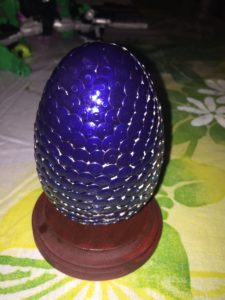
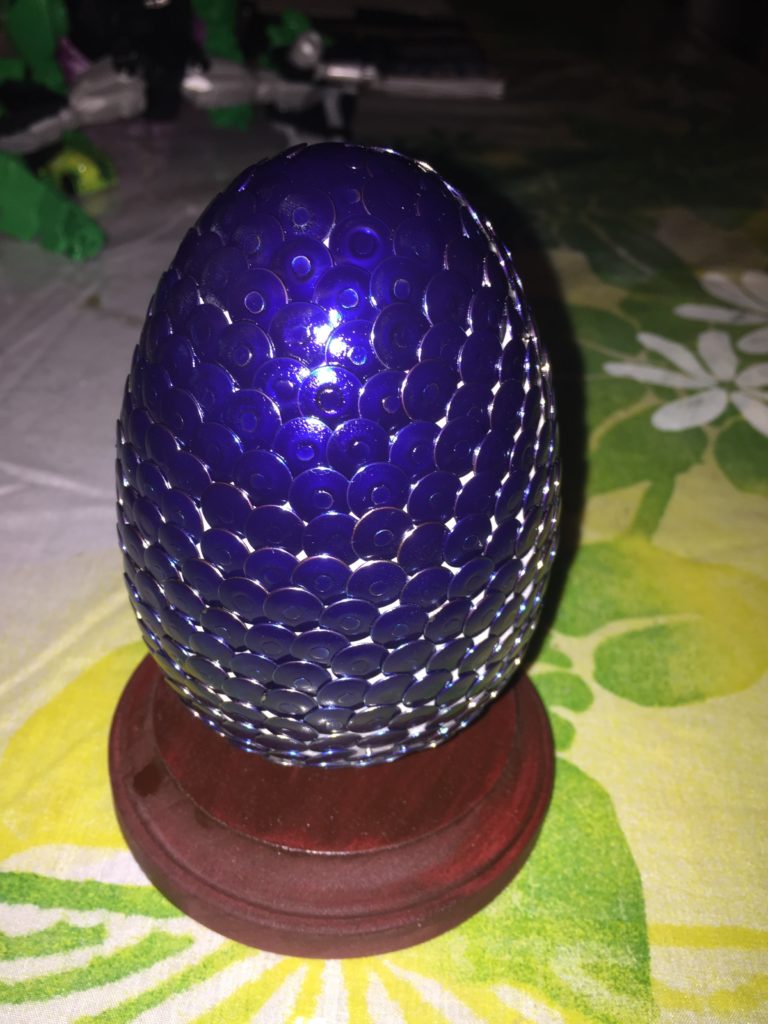
Once the thumbtacks are dry, take one and place it in the top center of the styrafoam egg. Put the next thumbtack beneath the first, with it barely overlapping. Now follow a pattern like a swirl, around the egg, with each thumbtack barely overlapping the one above it and the one right next to it. By overlapping the thumbtacks, you lock them in place without the need for any glue.
When you get to the last tack at the bottom of the egg, place some glue on the bottom of the head before sticking it in. The glue is needed because there are no more tacks to lock it into place.
Now spray the egg with several coats of clear coat, which will give the egg a glossy sheen as well as help bind the thumbtacks to each other. I have also heard that some folks use mod podge as a final clear coat, which would also cause the tacks to better adhere to each other.

