The following is the story of one dedicated AMT members adventures in caring for our beloved hacked CNC Router.
When I previously measured the steps on the x-axis, I found a big step difference between the forward and the backward motion. I decided to remove the x-axis to see if there were any mechanical reason which might affect this. At the same time, I removed the z-axis to see if there might be a mechanical reason for the occasional dropping of the z-axis.
z-axis
I removed both z-axes from the CNC and checked the Porter-Cable axis for wear. In addition, I checked to see if there was any slippage between shafts and timing gears, as well as between the shaft and the coupler. (This was a suggestion from @drshiny.) To me, the z-axis looks in a good condition. I identified two issues, one was the timing belt and the other was that the guide wheels were not running tightly on the Guide rails.
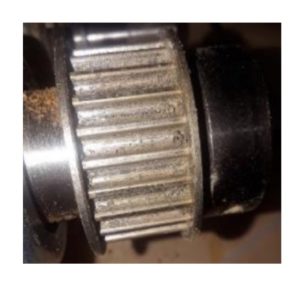
 The teeth of the timing gear were clogged with debris which looked like it had come from the timing belt. The only picture I have was taken after cleaning, but before doing that, I found a surprising amount of black stuff which was compacted into the grooves. I swapped the belt with the one from the Perske spindle which I assume has not done the same amount of work.
The groove in the bottom of the guide wheels was filled with compacted debris which caused the wheels to not run tightly on the guide rails. The point of the rail sits within the groove of the guide roller. If there is debris within the groove, the guide sits only on the upper face of the guide wheels as shown on the left-hand picture as opposed to the right-hand one(you may need to enlarge the picture to see it).

I used WD40 to softened the debris, and then used the edge of a chisel to scrape the stuff away. It was necessary to repeat this process several times for each wheel.
x-axis
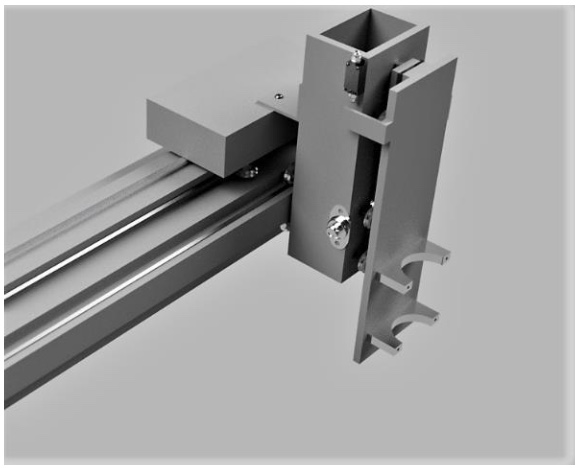
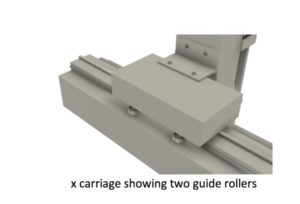
After removing both of the z-axes and the timing belt on the x-axis, I discovered that the x carriage was running only against the back two guide rollers(or wheels), with daylight showing between the front guide roller and guide rails. As before I cleaned and scraped the guide rollers and after tightening the two adjustable back rollers, I tested the smoothness of the carriage by pushing the x-axis forward and backward by hand along the path. At this point, the carriage was running smoothly. When I tested the number of steps forward and backward, I found there was no longer such a big discrepancy, which was the reason I decided to remove the z-and the x-axis in the first place.
y-axis
We know the rack and pinion on the left-hand side has much higher wear than on the right-hand side. I think this is due to the two carriages on the y-axis not running parallel. There are 2 types of guide wheels, fixed and eccentric which means they are adjustable. 2 fixed wheels go on one side and the other 2 go on the other side. I wonder if one of the wheels has been swapped around. That would lead to the carriage being at an angle once tightened. Steve looked at this and also said that the pinion runs at the bottom of the rack and needed to be lifted. It is possible that once the guide wheel has been cleaned and adjusted, it may be enough to lift the rack higher without having to resort to further shimming. This work has not been done yet.


