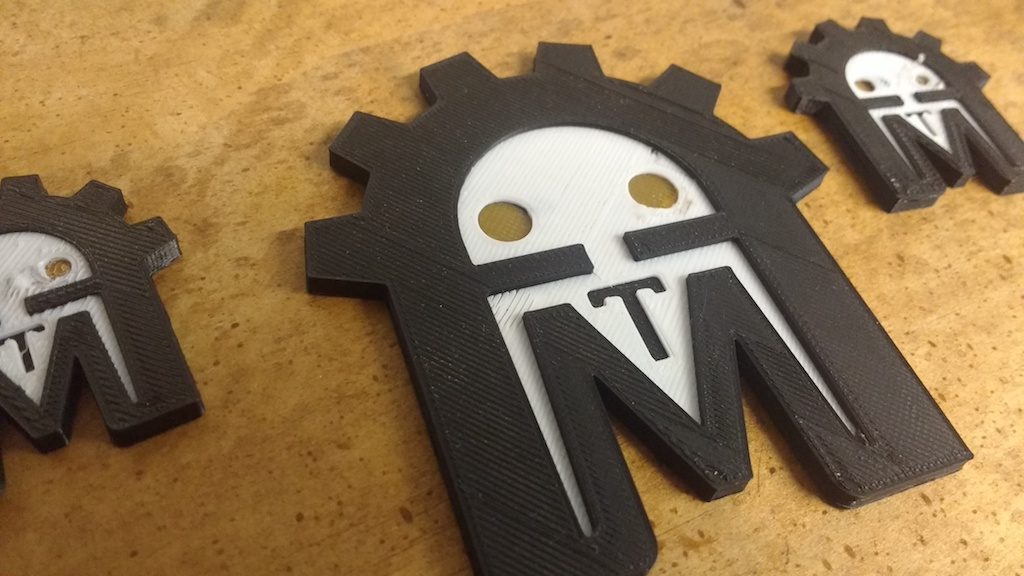
with just one extruder!
A couple weeks ago, Rachel asked me for a 3D printed AMT Robot similar to this one:
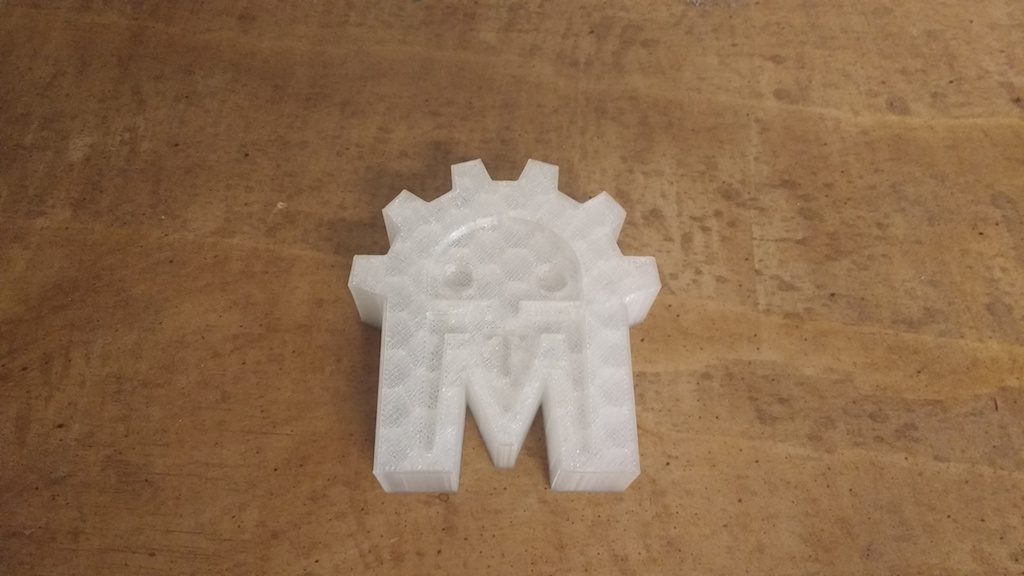
She wanted it to be done in our official logo colors, and was okay with a thinner version. This was a perfect opportunity to make good on my year-old promise to document my multi-color printing trick on the Prusa MK2.
Prusa-research offers a free utility which allows you to insert a filament-change-pause command at any layer in the print job. The new color will be used for the entire layer, until the next color change is encountered.
http://www.prusaprinters.org/color-print/
This can be useful for certain effects, like this little AMT robot plaque I made last year.
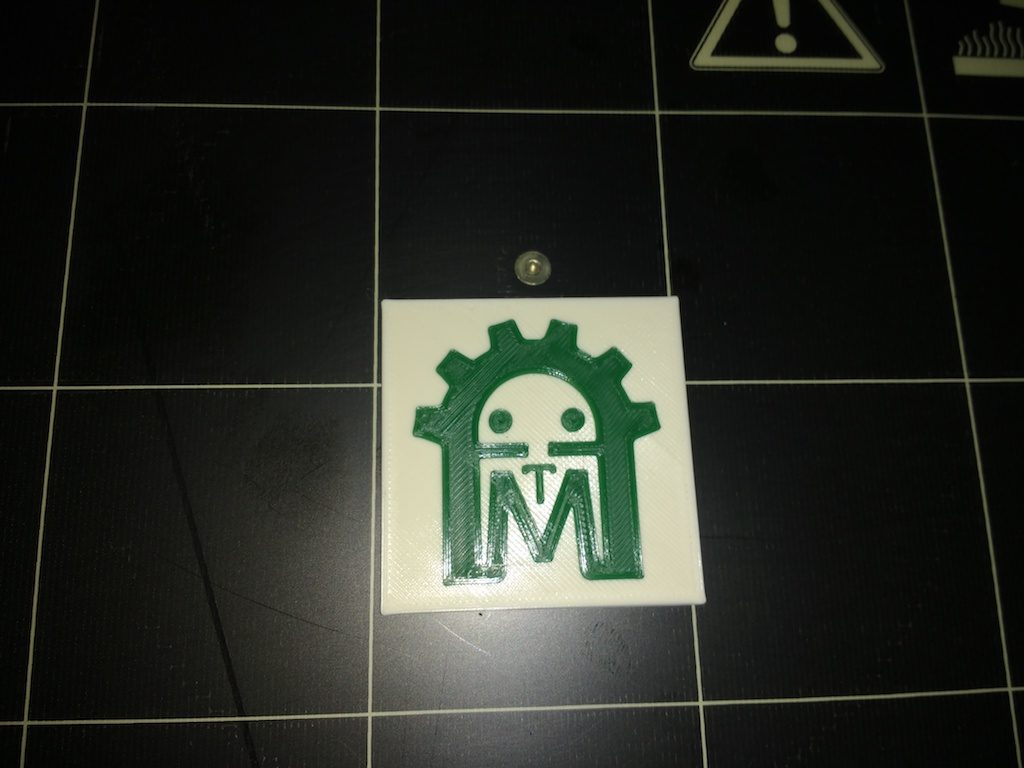
But true multi-color printing can be done the same way, if you have the patience to change filament manually at every color change. This eliminates the more complex multi-color models, but with a little planning, the filament changes can be kept to a minimum and yield surprisingly nice effects!
The basic steps are:
- Prepare your model
- Configure the slicer for multiple-extruders
- Load the STLs and slice
- manually edit the gcode, replacing extruder changes with filament-change-pause commands
- print as usual; change filament when prompted
These instructions assume Slic3r and our Prusa i3 MK2. Your printer must support a working filament change pause command. Unfortunately, this command is not universally implemented. If you’re unsure, you might want to try a small-scale experiment or two.
Prepare the model
I made a new model in Fusion 360. There are three colors: Black, white, and orange. I modeled the different colored sections as separate bodies like so:
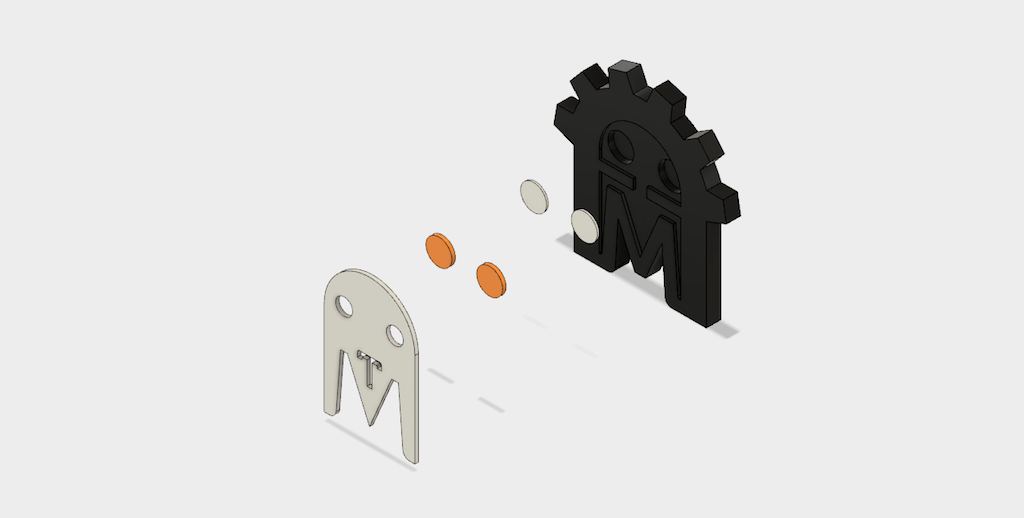
Note that there’s a white section just behind the orange eyes. That’s because the orange I have available is a translucent color which did not show well when printed over the black main color.
By changing visibility and exporting the model three times, I ended up with one STL for each color, even though the white and orange sections have multiple bodies.
Configure the slicer
Note: Please don’t save these configuration changes on our 3D print computer. Make temporary changes only, or use your own laptop.
Under printer settings/general, set extruders to 3 (for three colors). The additional extruders will be copies of the first, which is what we want.
Choose extruder 1 and scroll to the bottom of the panel on the right. Click the ‘extruder color’ settings and choose black. Set Extruder 2 to white and extruder 3 to orange.
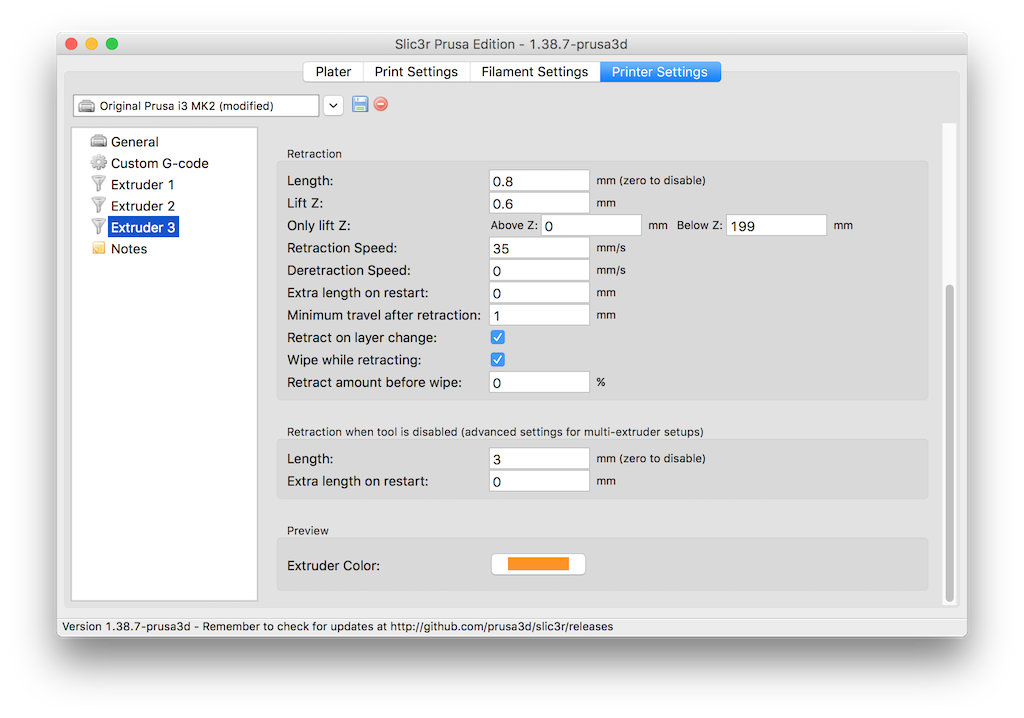
Slice the model
Click ‘add’ and load the main (black) STL file. Then click ‘Settings’ and use the ‘load part’ command to load the white and orange STL files.
Select each part in turn and choose the appropriate extruder: For the main black part, use extruder 1; for White use extruder 2; for Orange, extruder 3.
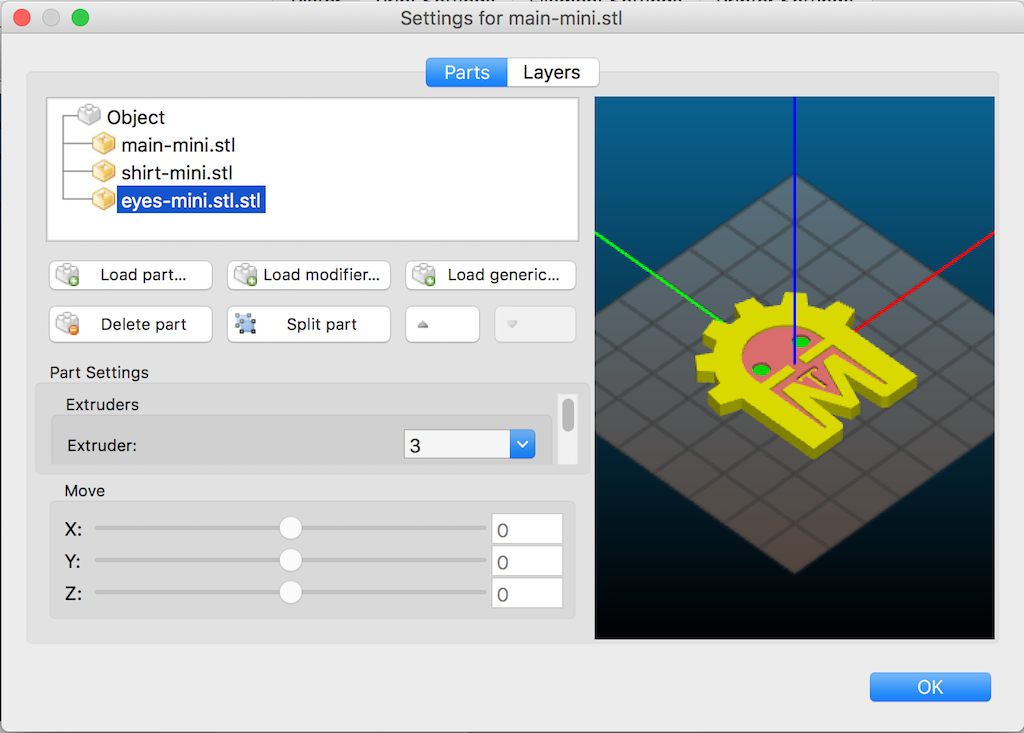
Adjust the rest of the settings as desired. I’m using default settings for the .020mm Normal profile.
Click ‘Slice now’ if necessary, and choose ‘preview’ on the ‘plater’ tab. Check ‘tool’ to activate the tool-specific preview colors. Your preview should look like this:
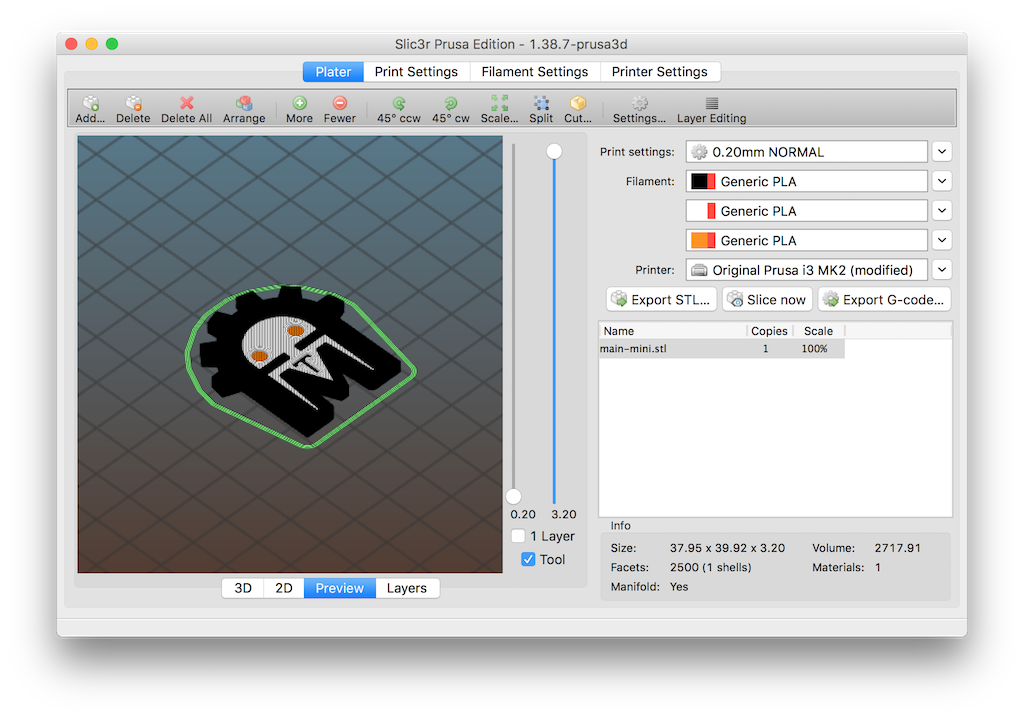
Export to gcode and save to a local file.
Edit the gcode
Open the .gcode file with a text editor and find all the lines containing t0, t1, and t2. These ‘tool change’ commands correspond to extruders 1, 2, and 3 respectively. A few of them will appear in a ‘preamble’ near the beginning of the file. In the body of the file a Tx command appears for each nozzle change. The idea is to delete the ones that don’t matter, and replace the rest with M600 commands. Your slicer may give slightly different results than shown here, so a basic understanding of gcode is assumed.
In my case the first was a lone T0 command that selects the first extruder to use. I left this one intact.
.
 .
 .
 G90 ; use absolute coordinates
 M83 ; use relative distances for extrusion
 T0  ; leave this one alone!
 ;BEFORE_LAYER_CHANGE
 ;0.2
 .
 .
 .
Slightly further down, three M104 commands appeared for setting nozzle temperature. I deleted the t1 and t2 versions.
.
 .
 .
 ;AFTER_LAYER_CHANGE
 ;0.4
 M104 S210 T0 ; set temperature
 M104 S210 T1 ; set temperature ; delete these
 M104 S210 T2 ; set temperature ; two lines
 G1 X116.894 Y125.880 F7200.000
 .
 .
 .
Then the actual printing starts using the T0 (black) nozzle already selected. The next one encountered is T1.
.
 .
 .
 G1 E-0.15000 F2100.00000
 G1 Z1.400 F7200.000
 T1  ; change to M600
 G1 E-0.80000 F2100.00000
 G1 X128.346 Y108.791 F7200.000
 .
 .
 .
Change this and all remaining Tx commands to M600. While you’re at it, make a list of which extruder numbers were selected. Check them off as you go, so you know you’re loading the correct color. In my case, this list looked like this:
0 -start with black-
 1 white
 0 black
 2 orange
 0 black
 2 orange
 0 black
 1 white
 0 black
 1 white
 0 black ..for remainder of job
At each M600 command, the printer will pause, prompting you to load the next color.
Results? Hm…
My results with the robot were a bit disappointing. Since these colors are very high contrast (black and white) the slightest little blob will noticeably mar the finish.
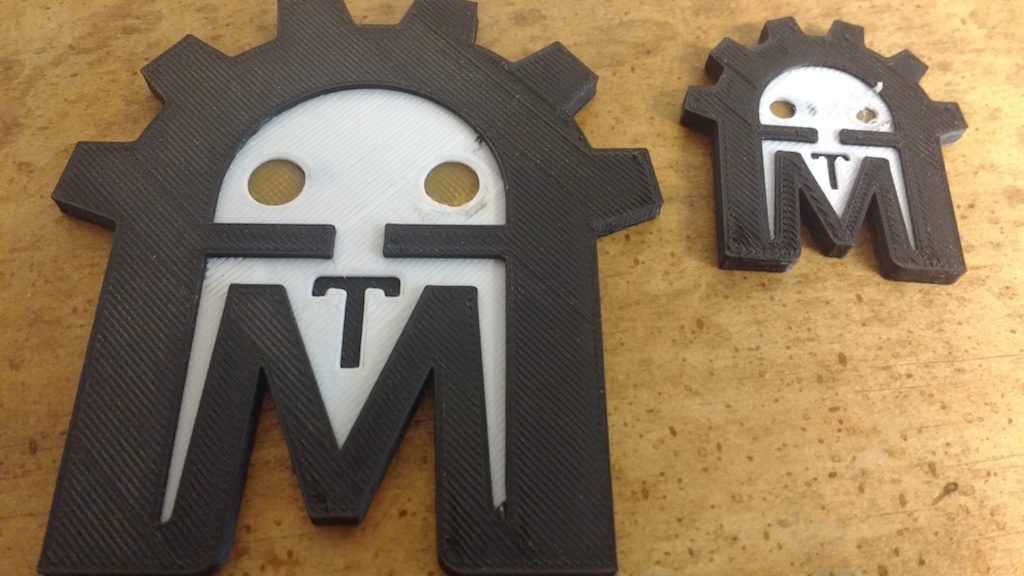
Also, I learned that translucent colors over a black layer need a lot of layers, or a white layer or two behind them to keep them from looking too dark. I was not satisfied with the eyes in any of these models.
One last issue is that the Prusa seems to extrude a bit of extra plastic just after resuming the print, but before the nozzle gets into position. This almost guarantees the aforementioned ‘blob’ of plastic, which invariably lands in the wrong place. With a bit of practice, I was able to quickly grab this extra blob with tweezers, but clearly there’s room for improvement! Maybe there’s a setting I missed somewhere.
Still, I think it’s a worthwhile technique to know, especially if combined with other effects.
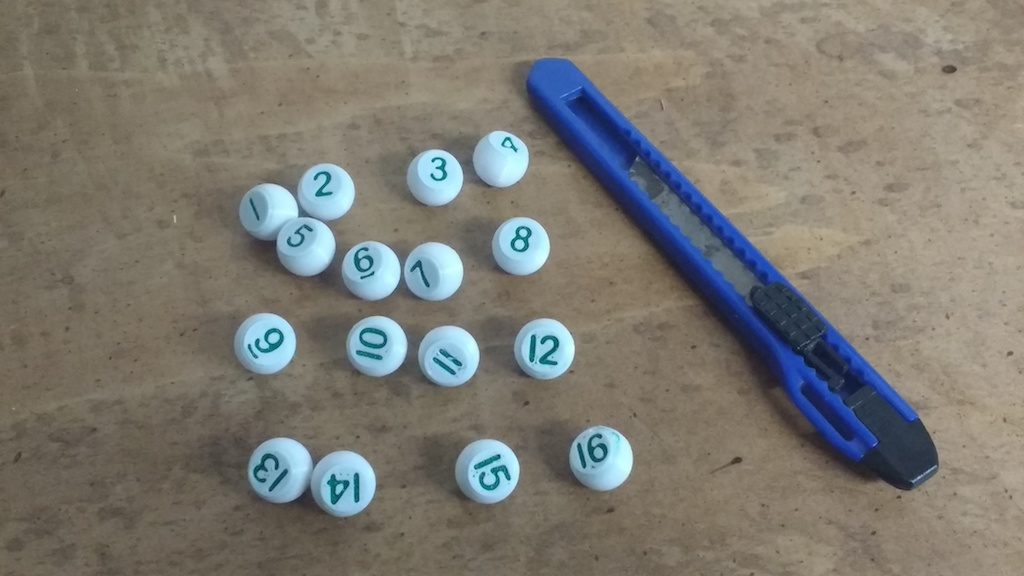
I’m an avid pool player and have recently taken an interest in games that require each player to randomly choose a ‘game ball.’ The traditional way to do this is via a set of ‘peas’ and a shaker bottle.
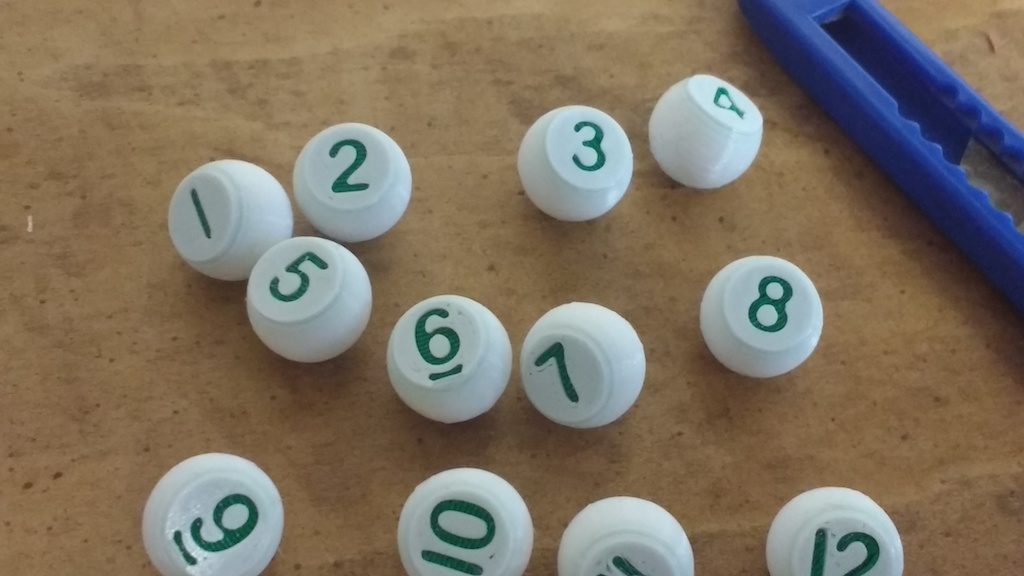
My peas are spheres with a flat spot on on side; the flat part faces down when printing. The numbers are recessed into this surface. These might work fine as-is, or a bit of paint could carefully be applied in the recess. I decided to try embedding a disc of contrasting color just behind the recess. I printed in white with green highlight, and got good results by turning the speed down to just 40% for the first few layers. Those finely detailed numbers are tricky! (I’ll save the bottle for another post!)

